Homemade Loom Knitting

Loom knitting has become a popular craft in our house. My son learned how to make and use his own knitting loom at school and the came home and taught us. The kids love to knit especially while we listen to an audio book or if someone is reading aloud. Knitting has a relaxing quality to it and since the looms are easy to make, we made some for the whole family.
The first thing to do is to make your own loom. It is amazing how well these work. and many of the supplies are around the house or in the kids craft bin.
Supplies
- Hot Glue Gun
- Tube from toilet paper, paper towels or wrapping paper
- Craft sticks (4+ per tube)
- Pony beads (1 per stick)
- Tape
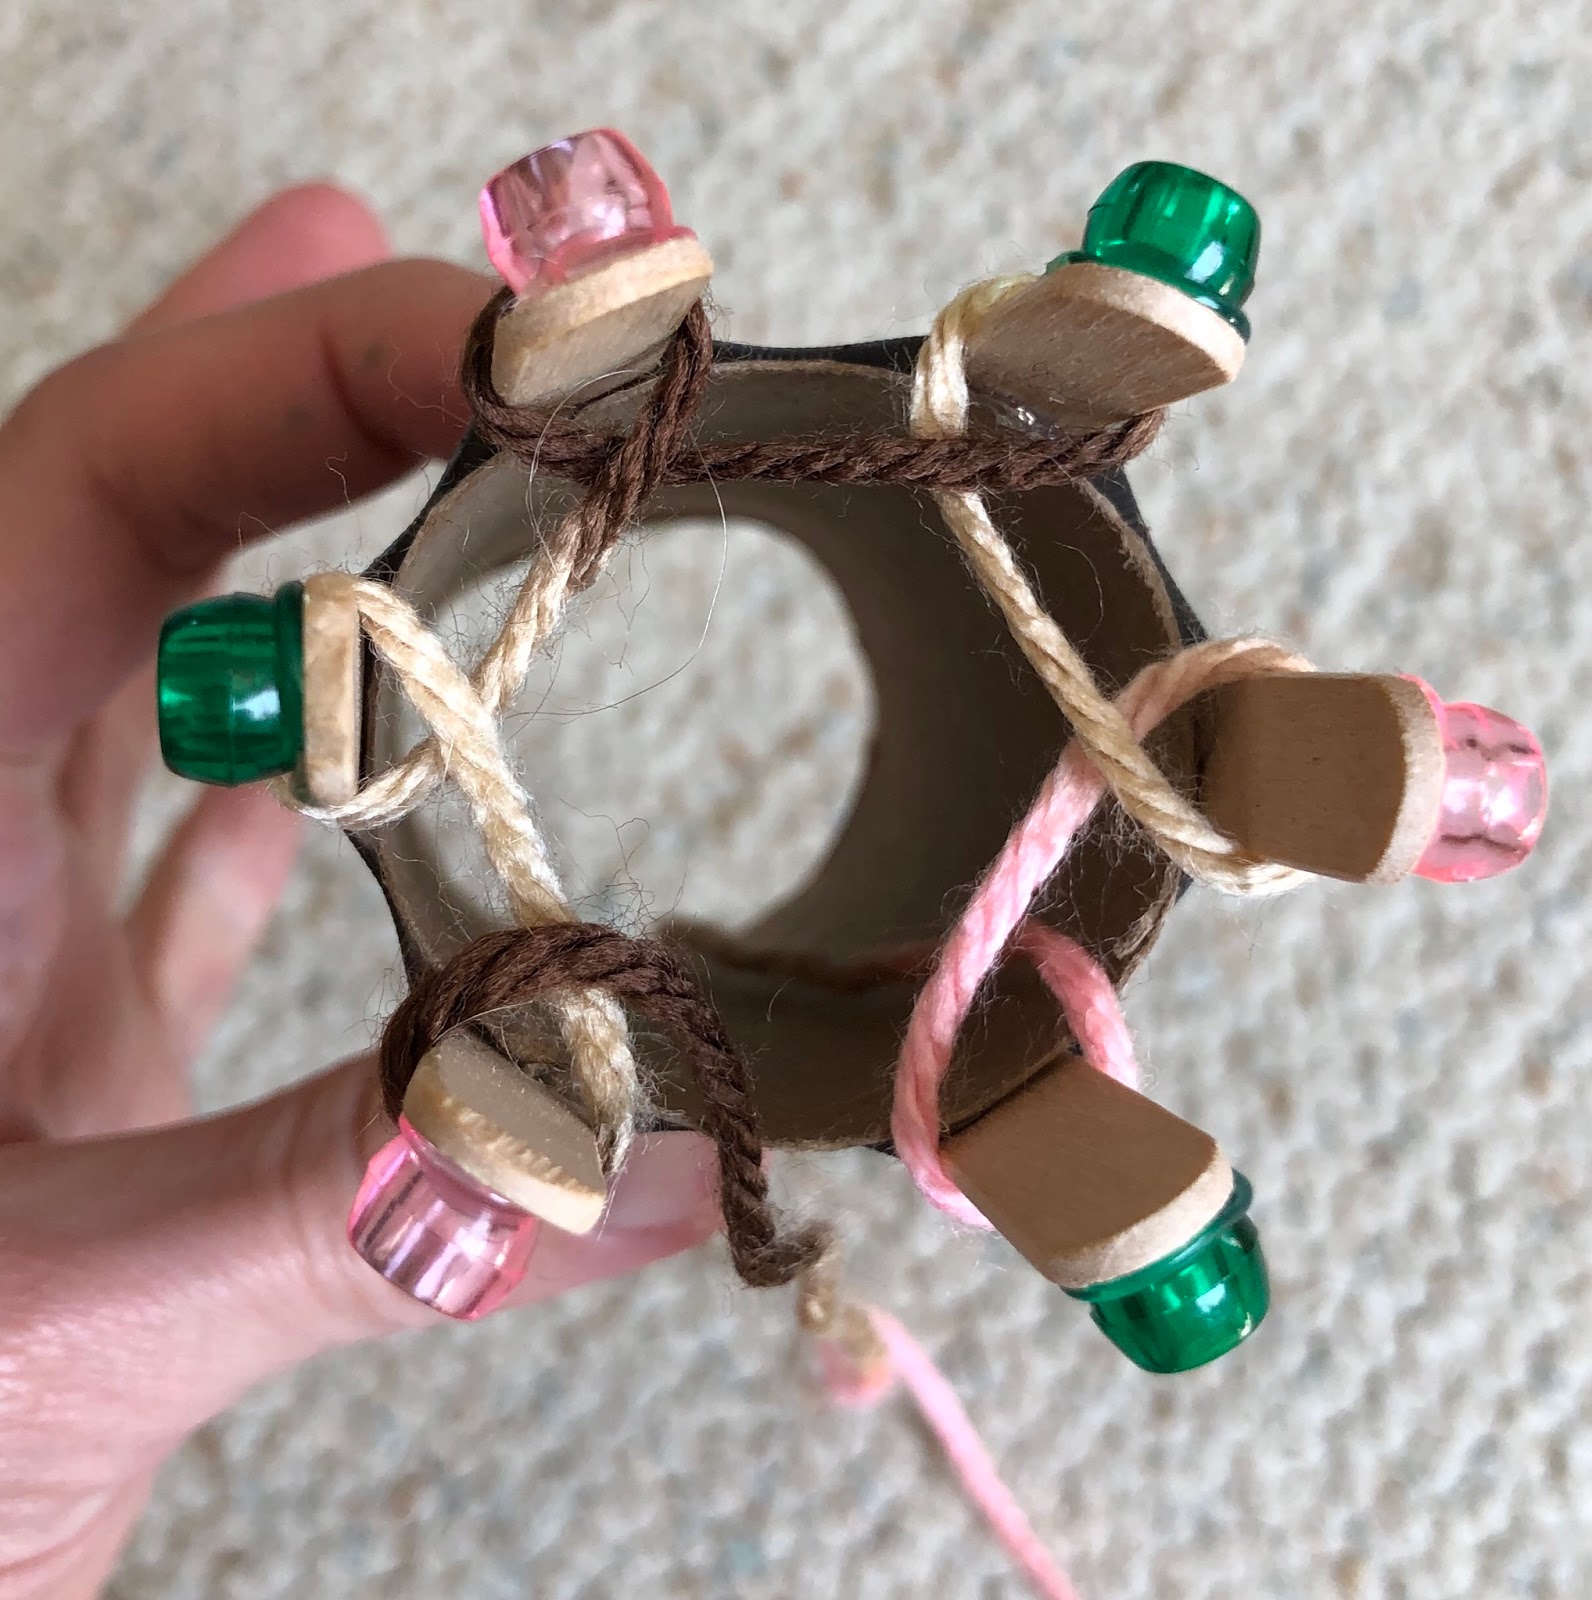
To build your loom first decide how many sticks you want for knitting. We have done it with as few as 4 and as many as 6.


On each stick glue one pony bead to an end using a large glob of hot glue. You can skip this step if you do not have any needs or you can use something of a similar size. The beads help keep the knitting from sliding off and make it easy to walk away when you want a break. The kids and I each picked out our colors to make it our own. This also made it easier to identify whose was whose.

With your tube of choice glue down the sticks leaving about 1/2 inch of the beaded end of the stick exposed at the top. Glue your sticks on as evenly spaced as you can.

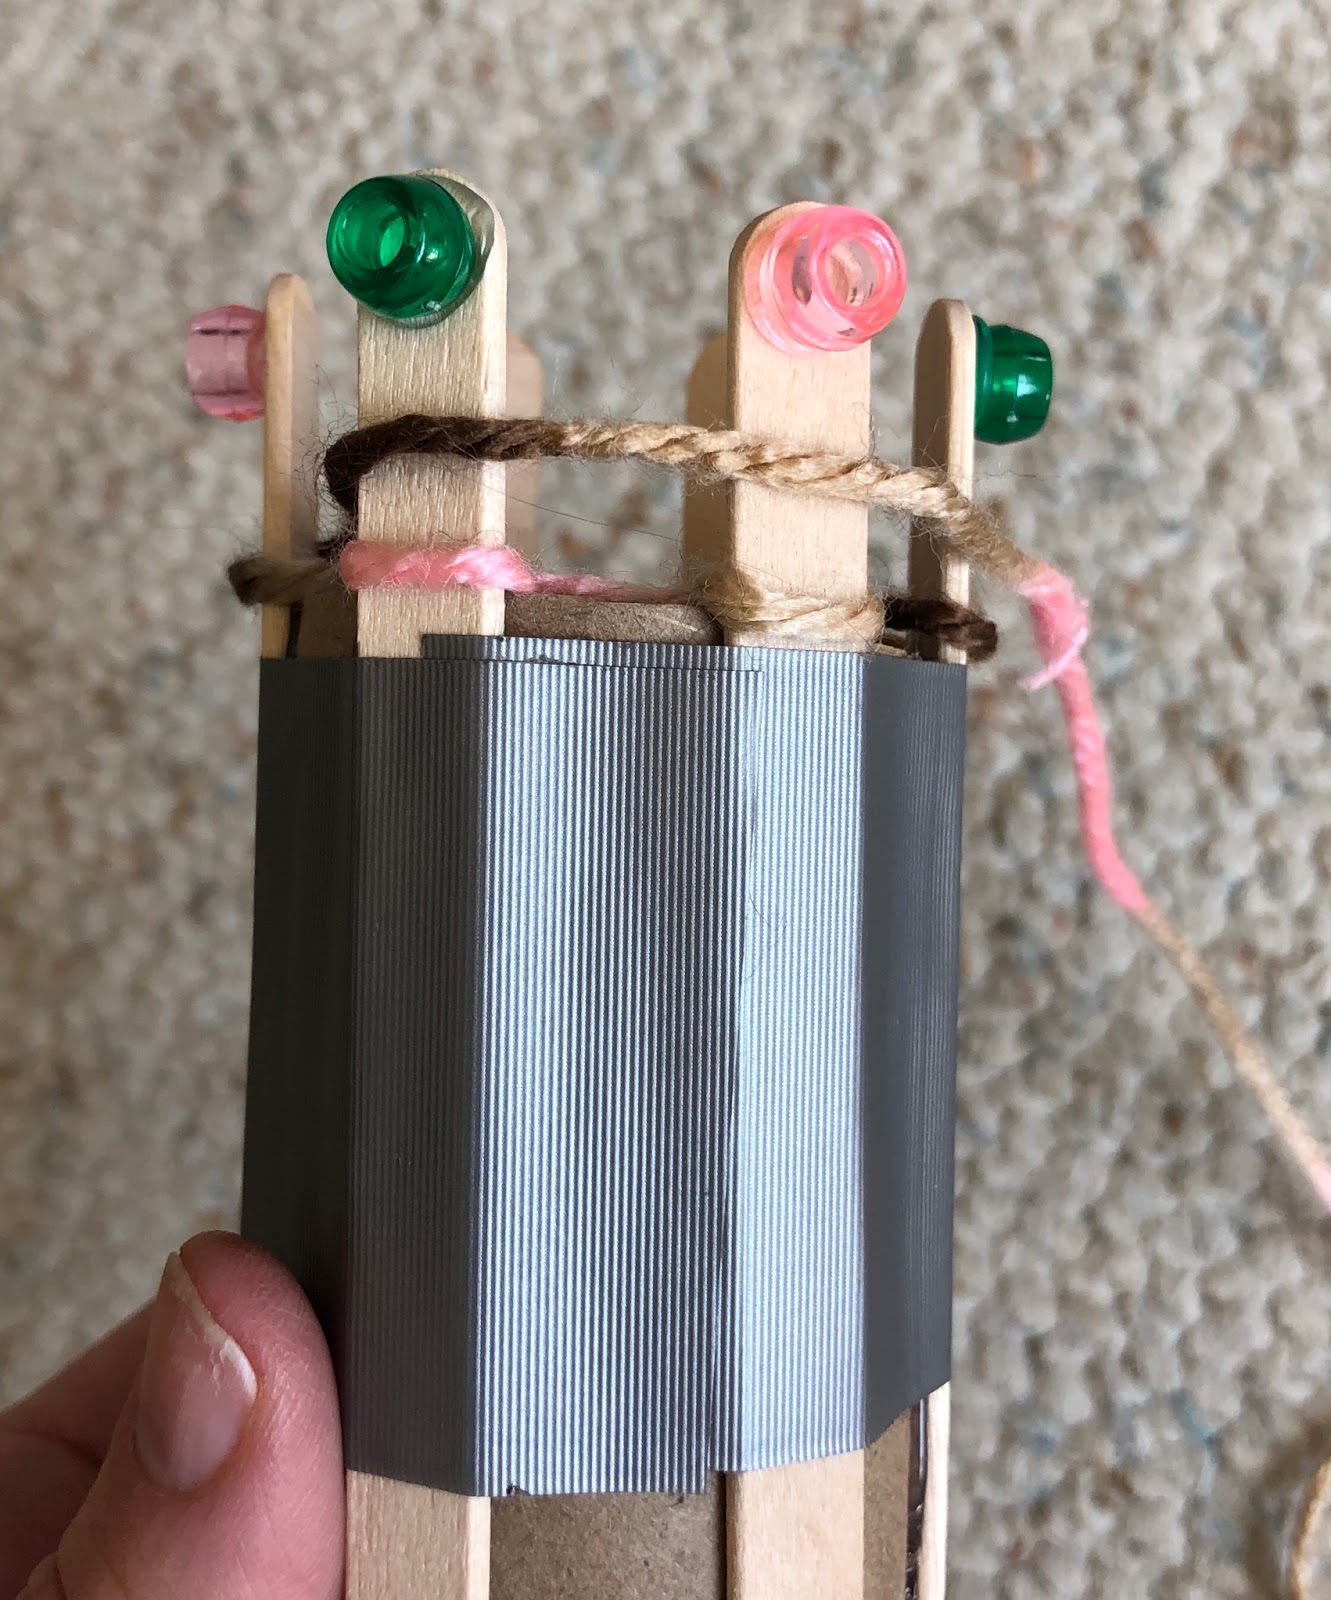
After the glue has cooled we used duct tape to cover them and make them smooth. I wish we had some colorful or patterned duct tape. That would have looks so neat.

Your loom is now finished and you are ready to knit!
Step 1: Choose your yarn.
Place a long tail of yarn directly down the center of the tube. I like it long enough that I can hold it tight while casting on the first loops of yarn.

Step 2: Cast On.
Do this by holding the yarn tail that is down the middle. Bringing it around the front of one of the sticks and then wrap from the back to the next stick. It doesn’t matter if you do this clockwise or counter clockwise. Which ever direction you choose that will be the direction you knit in.
Step 3: Knit!
Once you have cast on by looping around each stick you are ready to knit. This is done simply by placing the yarn on the outside of the sticks. No wrapping is needed. Just make sure that you place the new section of yarn above the loops that you have cast on. Stick by stick you then lift the lower yarn above the new.

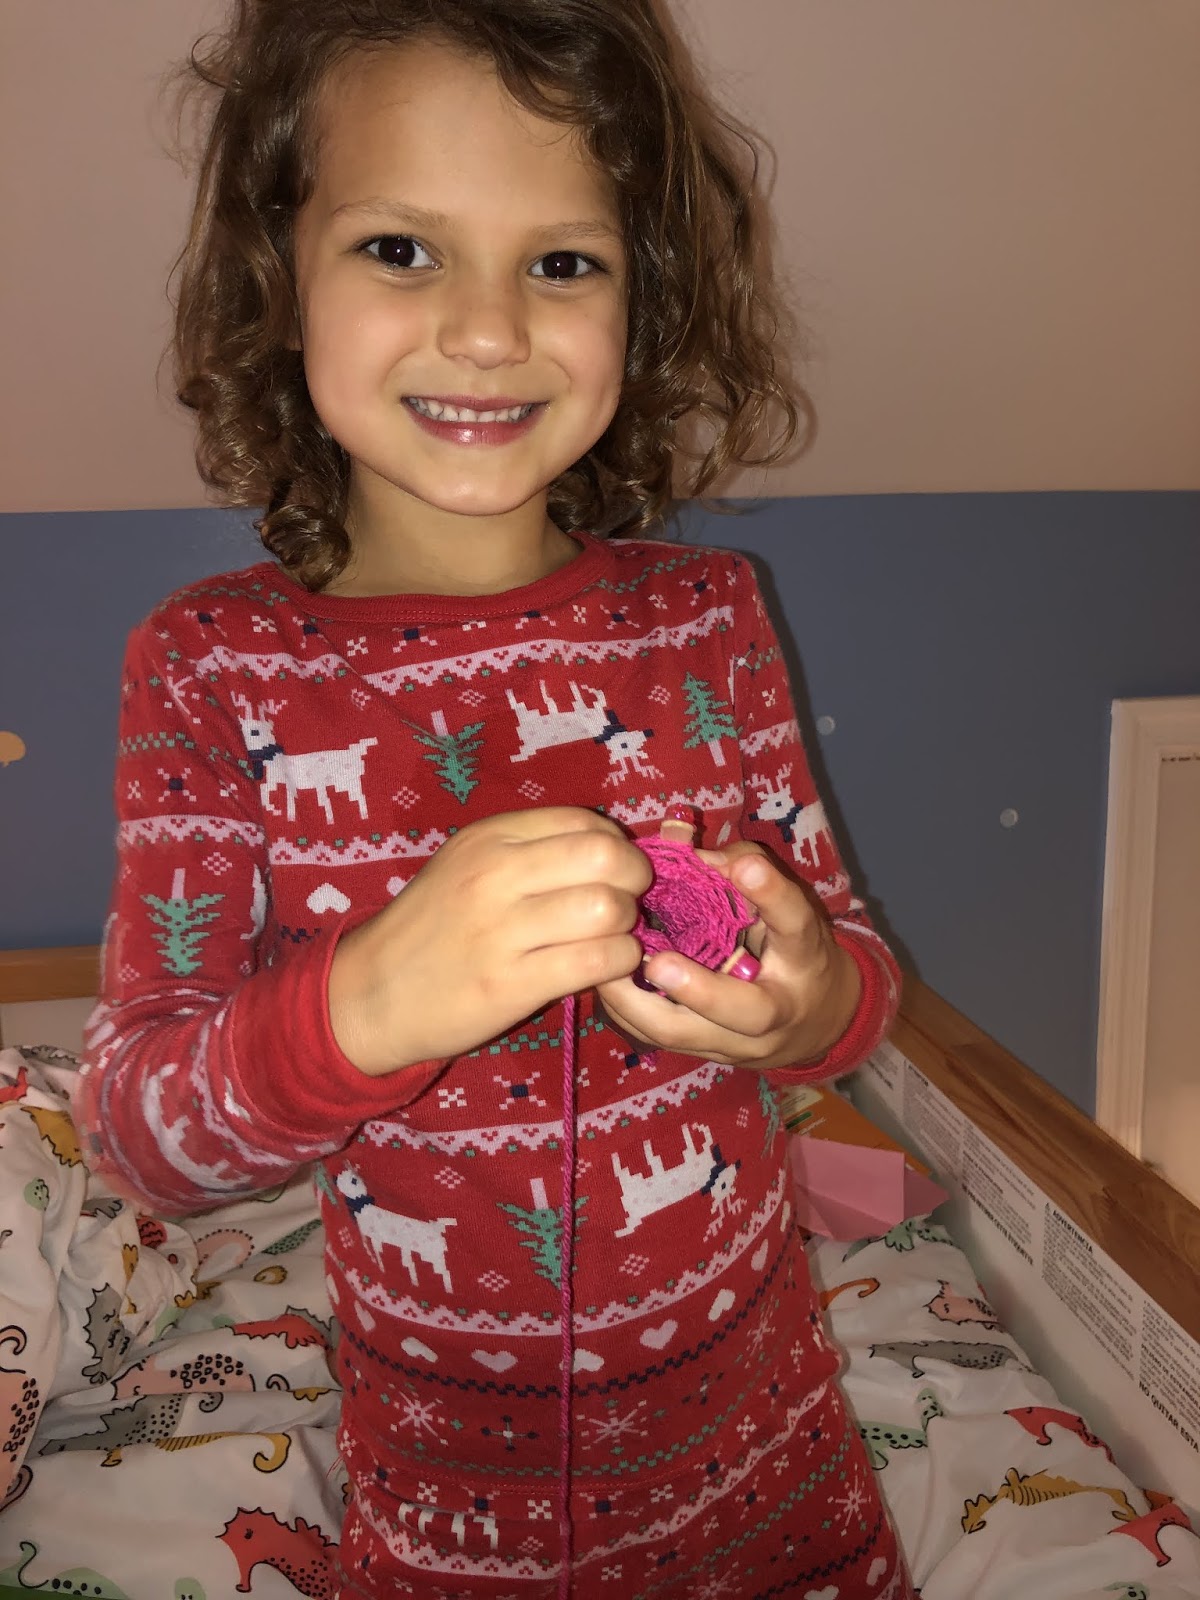
Keep kitting in circle until you have reached your desired length. We have made short on pieces for bracelets and necklaces, longer knits for doll scarves. Currently we are seeing how long we can knit and plan to use the results as decorations.

Step 4: Tie off your creation
Once you have reached the length you want it is time to tie off. the easiest way to do this is to sew under and up taking off each loop as you go. We used a yarn needle, but it is not necessary at all.


Once you have removed all of the loops then sew through one more time knotting at the same time.

Done!


Comments
Post a Comment